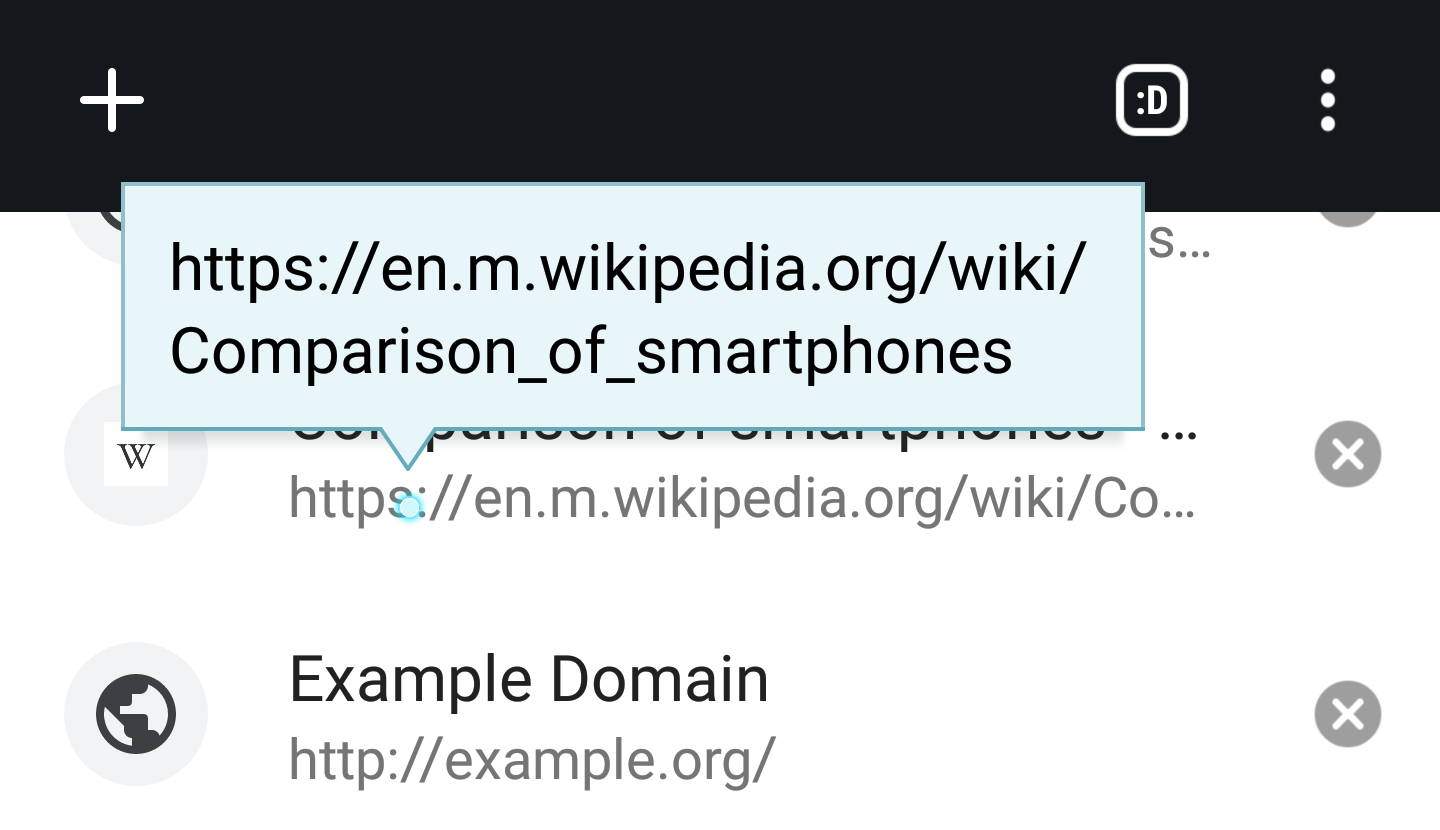
Tool tips are an easy way to add additional information or descriptive text to an image, link, or chunk of text. Here’s a simple script to help you build a straightforward HTML / CSS3 tool tip that you can adapt to your own website.
First, start by setting up a link in your HTML document, like this one:
<a title="Descriptive Text" class="tooltip">Hover for Tooltip</a>
Next, we’ll set up the CSS for the tool tip. Open your CSS stylesheet and create the following styles:
.tooltip{
    display: inline;
    position: relative;
}
.tooltip:hover:after{
    background: #333;
    color: #fff;
    bottom: 10px;
    left: 20%;
    padding: 5px;
    content: attr(title);
    position: absolute;
    z-index: 1;
    width: 200px;
}
Our new class – .tooltip – will display the information inline along with our link; we’ll use position: relative so we can align the tool tip in our second style. The :hover declaration means that the content defined in our link above will only show when someone mouses over the link. The rest of our second style positions the tool tip above our link, keeps it on top of the link itself (using z-index), and adds a background colour / text colour of #333 and white, respectively, to set it apart from other content on your page.
The key part of the second style above is the content: attr(title); definition, which tells your page to load the tool tip content directly from the title of your link. This lets you use the tool tip all over your website, but keep the tip information different. In our sample above, the tool tip would read “Descriptive Text”.
That’s it – enjoy this code sample and customize it to fit your own needs! If you liked this script or found the tutorial helpful, please consider clicking the donation link below to me a coffee – it’d be much appreciated and allows me to keep sharing these freebies with you.
Was This Helpful?
If so, please consider making a donation - your support allows me to continue putting out content like this!


